
Tag: continuous brew
Kombucha Brewing Container Guide for Home and Café

You've got a kombucha brew sitting on the bench, the SCOBY looks healthy enough, and the big question is still staring back at you from the kitchen shelf. Do you keep using that old glass jar, switch to stainless steel for a bigger batch, or buy something with a spigot because pouring from a heavy vessel is a pain? The answer matters more than most home brewers realise, because the kombucha brewing container isn't just where fermentation happens, it shapes safety, airflow, cleaning, flavour balance and how much finished drink you can draw off.
Why the Brewing Container Matters More Than the Recipe
A good recipe won't save a poor vessel. If the container is too narrow, too reactive, too hard to clean, or sealed in the wrong way, the brew can drift in the wrong direction no matter how careful you are with tea, sugar and starter liquid.

The vessel is part of the fermentation process
Kombucha needs oxygen during primary fermentation, so the vessel has to be open enough for airflow but not sealed tight. Brewing guidance recommends a fermenter that can hold the tea, sugar, SCOBY and starter liquid with headspace, then be covered with breathable material rather than a lid that locks everything in. That's why the same jar that looks “fine” on the shelf can behave very differently once it's holding a live culture.
Practical rule: if the container makes cleaning awkward, pouring messy, or airflow uncertain, it's already working against the brew.
The practical effect is bigger than many expect. Vessel choice can influence whether you get a clean café-style pour, a single-serve retail format, or a larger family bottle at the end of the process. It also affects carbonation behaviour later on, because the vessel shapes how much sediment settles and how much liquid is left behind.
This is why equipment choice often matters more than the recipe itself, a point worth keeping in mind when you read how equipment affects food quality. In kombucha, the container sits upstream of everything else.
Think of it as a control point
Brewers often focus on tea blend or flavour additions and overlook the simple fact that container volume and shape change how the batch behaves. Some liquid is retained by the SCOBY and fermentation losses are normal, so the vessel needs to suit the amount you want to serve. A brew container is not a storage accessory. It's a working part of the process.
If you're choosing one jar for home use, the questions are simple. Can you clean it properly? Can oxygen move the way it should? Can you remove the SCOBY without a wrestling match? If the answer to any of those is no, the container is probably the wrong one.
Comparing Glass, Stainless Steel, Ceramic and Plastic
The easiest mistake is to ask which material is “best” in the abstract. A better question is which material matches the way you brew, clean and serve. For a kombucha brewing container, that means judging acid safety, visibility, durability and how the vessel fits your batch size.
A simple decision lens
Food-grade glass is usually the most straightforward choice for primary fermentation because you can see what's happening without disturbing the brew. Food-grade 304 stainless steel or higher suits larger or more durable setups, especially where breakage is a concern and the metal is fully food-safe. Ceramic can work if it's lead-free and the glaze is safe for acidic contact. Plastic is the weakest fit for long contact, because acidic kombucha can raise material-safety concerns over time.
| Kombucha Brewing Container Material Comparison | Acid safety | Durability | Best for |
|---|---|---|---|
| Glass | Very good when food-grade | Moderate, breakable | Home batches, visible fermentation |
| Stainless Steel | Good when 304 or higher and food-safe | High | Larger batches, heavy use |
| Ceramic | Good if lead-free and glaze-safe | Moderate to high | Heritage-style brewing, stable bench use |
| Plastic | Limited for long contact | Variable | Short-contact experiments only |
The value of glass is obvious to anyone who likes to monitor a ferment closely. You can see the pellicle forming, watch sediment settle and avoid opening the vessel too often. That makes it a comfortable default for beginner brewers and cafés that want a clear visual check before draw-off.
Where stainless steel and ceramic fit
Stainless steel becomes more attractive when the container needs to handle repeated use, transport or a busier service rhythm. The key is that it has to be food-safe stainless, not just any shiny metal. Ceramic sits somewhere between the two, practical and old-school, but only if the glaze is safe and the vessel is easy to inspect.
Plastic sits outside the main recommendation for serious long-term brewing. It can be useful for short-contact testing, but it isn't the easiest material to trust when you're fermenting something acidic and alive. For most Australian home brewers and cafés, glass remains the cleanest starting point, stainless steel the most durable option, and ceramic the niche choice when glaze safety is verified.
Mouth Width, Headspace and Vessel Shape
A brewer can buy a jar for its volume and still end up with a vessel that is awkward to use, hard to clean and poor for food safety. The geometry matters because a kombucha brewing container should let you inspect the culture, remove the SCOBY and wash the vessel without fighting the shape. For a plain-English walkthrough of the culture itself, the SCOBY guide is a useful place to start.

Width is a cleaning feature, not a luxury
A vessel opening of at least 4 inches is recommended so you can fit a full hand inside for SCOBY removal and cleaning. That is not a comfort upgrade. It is a hygiene decision, because a narrow neck leaves residue where you cannot properly scrub or inspect it, especially around the rim and shoulder of the jar.
The opening also affects how calmly the batch is handled. A wider mouth gives you room to lift the culture, rinse the vessel and check for film or stray sediment without scraping the sides. In a home kitchen, that means less fuss at the sink. In a café, it means faster turnover between batches and fewer awkward cleaning steps during a busy shift.
Headspace matters just as much. A 1-gallon jar should be filled to no more than about 110 ounces, leaving roughly 18 to 20 ounces of headspace for fermentation gas exchange and foam management. That air gap gives the brew room to move naturally instead of pushing liquid up against the cover or into the cloth.
A broad opening and honest headspace are food-safety features. They reduce the chance of residue building up where you cannot see it.
Shape changes the way the batch behaves
A squat, broad vessel tends to sit more steadily on the bench. It is easier to grip, easier to clean and usually less awkward when you are lifting a filled jar full of living, acidic liquid. A tall narrow vessel can still work, but it makes SCOBY handling and washing more fiddly, especially in kitchens where benches are already crowded with kettles, jars and trays.
The base shape matters too. A stable base lowers the chance of knocks and spills, which is worth thinking about in an Australian home with pets, tight bench space or a café prep area where things move quickly. A vessel that tips easily is a poor fit for something that sits fermenting for days at a time.
If you want a clearer picture of how this geometry affects day-to-day brewing, it helps to compare it with preserving spirits with glass stoppers. A stopper suits containment, while kombucha vessel shape should make cleaning, inspection and safe handling easier. Different jobs call for different forms.
Match the vessel to the batch, not the other way around. For home brewing, that usually means prioritising reach and easy washing over decorative shape. For a café, the same rule applies, with extra attention to repeatable handling and stable draw-off. A container that fights you every time you use it is telling you it is the wrong fit for the job.
Lids, Covers and Airflow During Primary Fermentation
Primary fermentation needs oxygen, but it also needs protection from dust and fruit flies. That's why the cover matters just as much as the jar. The right top keeps the brew breathable without leaving it exposed.
What each covering actually does
A breathable cloth cover secured with a rubber band is the usual default. It lets airflow through, keeps debris out and gives the culture the open environment it needs. A tight lid does the opposite, which is why it's the wrong default for primary fermentation. Swing-top seals and valve-style lids are more relevant once the brew moves into later stages.
Think of it the way you'd think about a decanter seal in another kitchen setting, such as preserving spirits with glass stoppers. A stopper is useful when you want containment. Kombucha primary fermentation is the opposite. It wants controlled exposure, not a closed system.
For warm Australian kitchens, a cloth cover still works well if it's clean and secured properly. In smell-sensitive spaces, an airlock-style lid can be a sensible upgrade, but it's more of a specialist choice than a basic requirement. The main point is simple. Primary fermentation should not be sealed shut.
Matching the cover to the stage
A sealed container becomes far more relevant later, after the tea has already fermented and you're managing carbonation or flavour additions. That's when pressure control starts to matter. During the first ferment, though, the job is protection plus airflow, not pressure containment.
A good covering setup usually looks plain, and that's fine. Clean cloth, secure band, enough airflow, enough protection. If you're reaching for more complicated hardware just to get through primary fermentation, the container or the environment may need simplifying instead.
Cleaning, Sterilising and Spotting Early Warnings
Hygiene is the part many overlook, then regret later. In kombucha, the container, lid and spigot are all part of the food-safety system, especially because residue can build up in rims, threads and valves. Cleaning isn't separate from brewing. It is brewing.
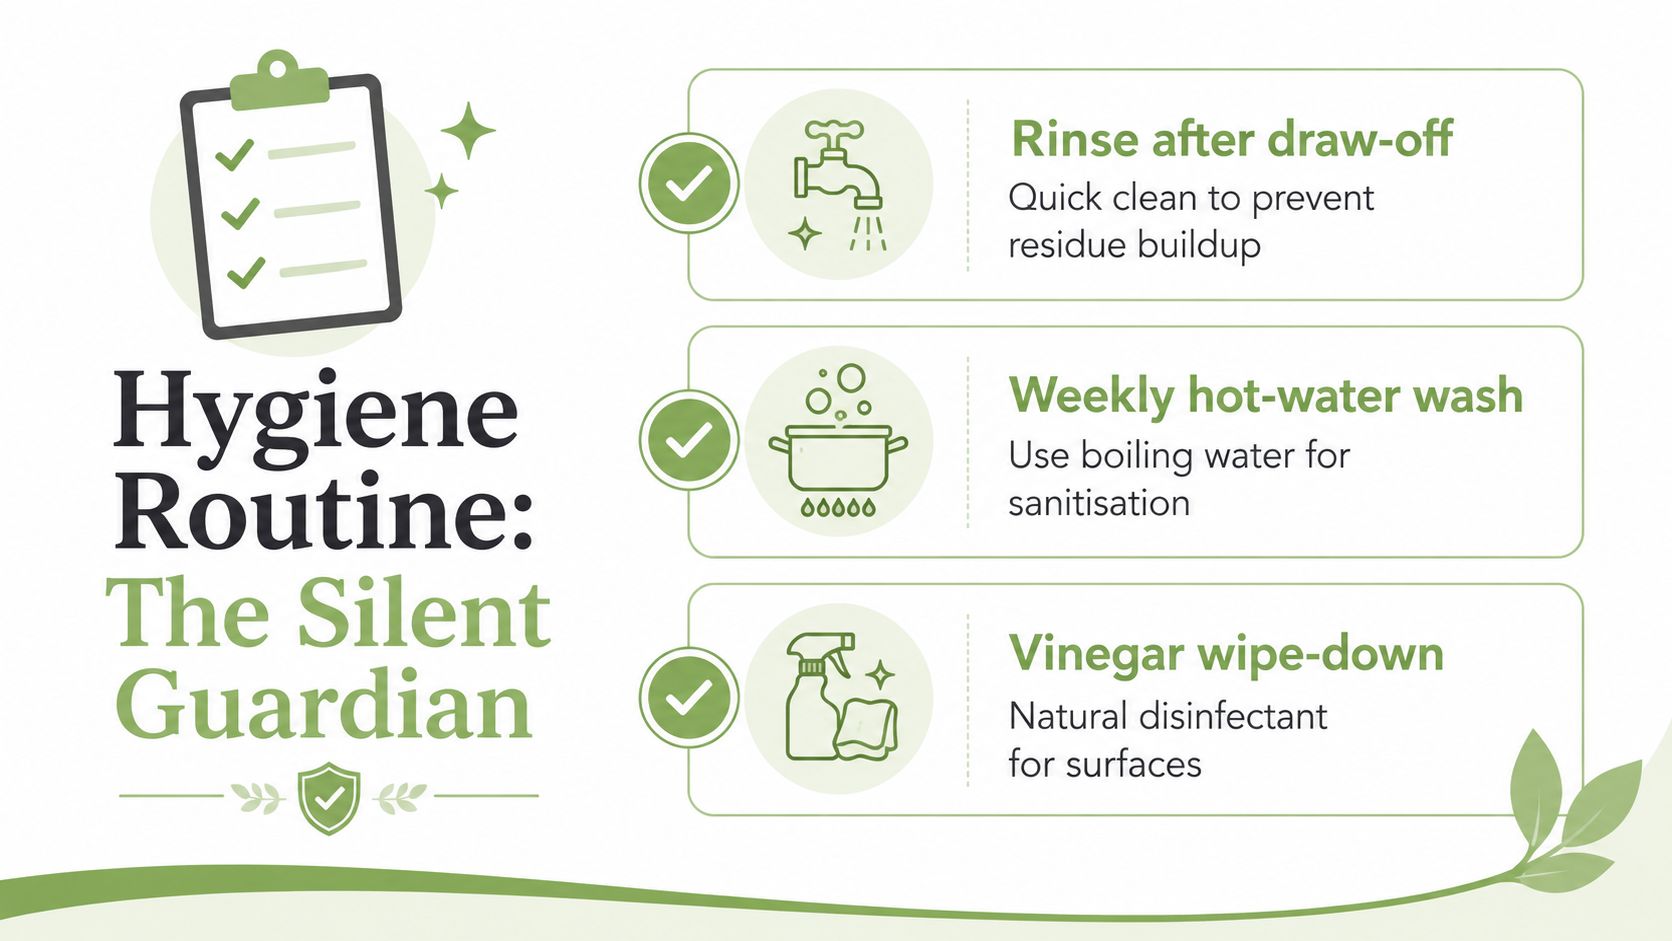
A routine that keeps problems small
After each draw-off, rinse the vessel so residue doesn't dry onto the walls or spigot. Give it a proper hot-water wash each week if you're using it regularly, and do a periodic deep clean with a food-safe sanitiser. That rhythm is more useful than waiting until the jar looks dirty.
Inspection matters just as much as washing. Look closely at the rim, the threads, the base and any spigot assembly. Those are the places where yeast bits, sugary film and stray residue can linger. A clean-looking container can still hold dirt in a hidden seam.
Good habit: if you can't easily inspect a part of the vessel, you can't really trust it.
Early warnings to take seriously
Stringy brown mould is not something to brush off. Sour alcohol smells can point to a fermentation balance problem, especially if the container isn't behaving well or the vessel has dead zones where residue sits too long. A SCOBY that stops forming new layers can also tell you the system isn't stable.
Those signs don't always mean the same fault, but the container is often part of the cause. A narrow opening makes cleaning harder. A poor spigot design traps sediment. A vessel that's awkward to inspect makes little problems harder to catch early.
If you want a practical benchmark, compare your brew habits with a reliable pH workflow like the one used in Pep Tea's digital pH meter guide. The point isn't to turn home brewing into lab work. It's to make your checks consistent enough that you notice trouble before it spreads.
Hygiene is boring right up until it saves a batch. Then it becomes the most valuable skill in the room.
Scaling Up for Home, Café and Continuous Brew
A single-batch home jar and a café dispensing system are not just different sizes of the same thing. They are different operating models. Once you start drawing off kombucha for customers or steady household demand, the container has to support turnover, cleaning and stable flavour, not just fermentation.
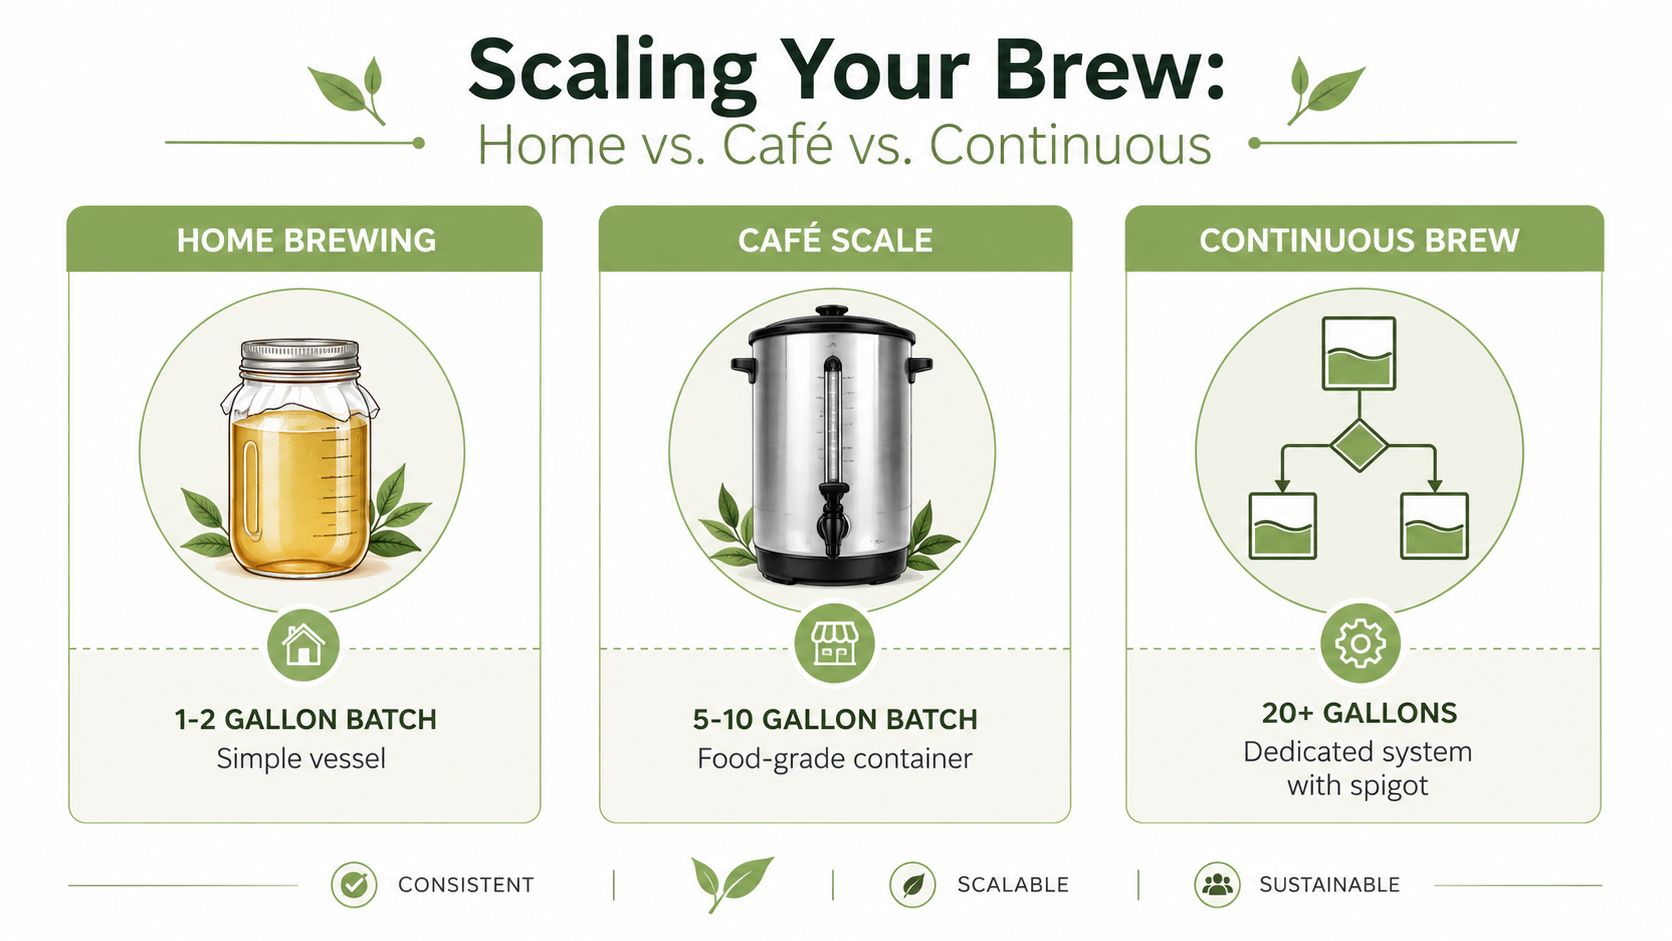
Home batch versus continuous system
For batch brewing, one source recommends a 1 to 5 gallon vessel, while continuous brew is typically 2 to 5 gallons with a spigot near the bottom so kombucha can be drawn off without disturbing the SCOBY and sediment. A glass vessel in that range is the common shape of a continuous system, and the spigot placement matters because it controls how cleanly you can serve from the lower portion of the brew. The ideal fermentation temperature is often cited around 80°F (27°C), with a broader working range of 75 to 85°F (24 to 30°C), which is another reason vessel choice and room conditions need to be considered together. Kombucha container and spigot options bring those pieces into the same decision.
Continuous brew also has its own maintenance logic. Larger systems can become too acidic or overloaded with SCOBY mass if they're left too long without balancing draw-off and refill. That's why the container has to be sized for regular use, not occasional attention.
What cafés should watch
A small café often does better with two parallel vessels instead of one huge drum. That gives you more flexibility if one batch is slower, cleaner or more popular than the other. It also reduces the pain if a single vessel needs to be cleaned or rotated out.
Spigot design is the primary failure point in many larger systems. Guidance for continuous brew recommends food-grade spigots with no metal on the inside of the container, and material choice should stay on the safe side. A 2 to 5 gallon container is often the sweet spot because it gives enough volume without turning maintenance into a storage problem. Continuous brew vessel guidance is useful here, especially if you're planning a setup that's meant to be drawn from regularly.
For Australian cafés, the practical question is not just “how big?”. It's “how easy is this to clean, inspect and refill on a busy day?”. That answer should drive the choice.
Secondary Fermentation Vessels and Bottling Choices
Once the first ferment is ready, the brew changes jobs. The open vessel that worked for primary fermentation gives way to a sealed bottle that has to manage flavour, pressure and carbonation. The container choice here is different again, because the brewing problem has changed.
Bottles need to handle pressure
Thick-walled glass bottles with swing-top or thick gasket seals are the standard pick for secondary fermentation. They're built to hold pressure and they make it easier to add fruit, herbs or spices without opening and closing a flimsy lid repeatedly. Narrow-necked bottles are awkward if there's any pulp or SCOBY fragment in the mix, because filling and cleaning become harder.
Headspace still matters in the bottle. Pressure builds as carbon dioxide forms, so leaving room at the top gives the gas somewhere to go. That's the same logic as the wider fermentation vessel, just applied to a sealed environment.
Where PET fits, and where it doesn't
Commercial-grade PET bottles can work for short-term, low-pressure experimentation. They're useful when you want a simple, temporary test or a bottle that lets you feel pressure by hand. But they're not a long-term substitute for proper fermentation bottles, especially if you're planning regular secondary fermentation with fruit additions.
If you need a refresher on post-ferment handling, this kombucha storage guide is a helpful companion. The bottle, the fridge and the timing all work together once carbonation is already underway.
The main thing to remember is that secondary fermentation is a pressure stage, not a primary breathing stage. That means the vessel has to be chosen for containment, not airflow. Once you separate those two jobs clearly, bottle choice becomes much easier.
Common Questions and Practical Troubleshooting
A lot of kombucha container questions only come up after the first few batches, when the bottle is already on the bench and something looks slightly off. That's normal. The trick is to treat the container choice as a live decision, not a one-time purchase.
What about plastic for short contact
Food-grade plastic can be acceptable for short contact in limited situations, but it's not the default recommendation for long acidic fermentation. If the contact is brief and the container is food-safe, some brewers use it for experiments or temporary holding. For primary fermentation or repeated long contact, glass, ceramic or food-safe stainless steel is the cleaner call.
Is a cloudy or greasy film a container problem
Sometimes it is, sometimes it isn't. A cloudy film can be harmless yeast activity, while a greasy-looking residue may point to poor cleaning or a spigot that's holding old material. If it keeps returning in the same place, the vessel design is probably part of the issue.
Can stainless steel change flavour
Food-grade stainless steel is generally accepted when it's the right grade, but if a metallic taste shows up, don't assume the vessel is the only cause. Water quality, residue in the container and cleaning issues can all play a role. If the taste appears after switching vessels, check the spigot, the water and the cleaning routine before blaming the metal itself.
What should a buyer look for first
For home brewers, the first test is whether the vessel is easy to inspect and clean. For cafés, the first test is whether the system can be served from safely and cleaned quickly. For both, the safest benchmark is a well-fermented, properly handled, certified-organic Australian kombucha that tastes clean, balanced and stable.
If you want to choose the right vessel once and avoid guesswork later, start with the material, the mouth width and the spigot, then build your batch size around that. And if you'd rather learn from a brand that treats fermentation as a real food-safety process, visit Pep Tea for Australian-made kombucha and tea education that puts quality first.